The GIMP is a free image editing package which includes perspective correction tools. This makes it possible to take measurements and make track drawings directly from photographs. It is helpful to know some dimensions of course, usually at least the track gauge. Other dimensions can often be estimated by counting rail joints and sleepers.
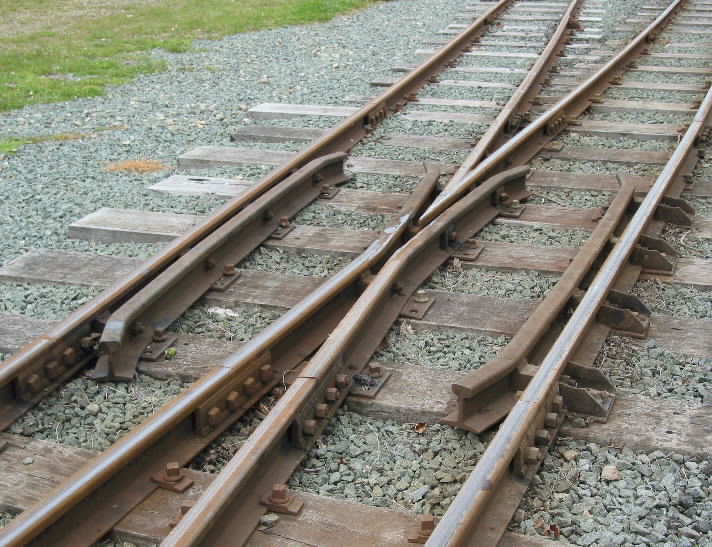
Here first is an interesting photograph in the "prototype for everything" department - notice the unusual sharing of a single buffer stop by two spurs. The rails at the stop block run side by side, it is not a switch. (Roe Lane Junction, Southport, on the L&Y electrified lines. The impressive building is the maintenance workshop for the electric stock.)
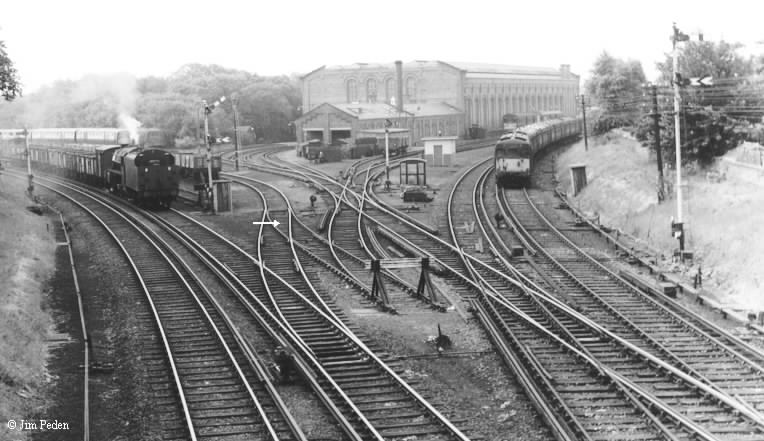
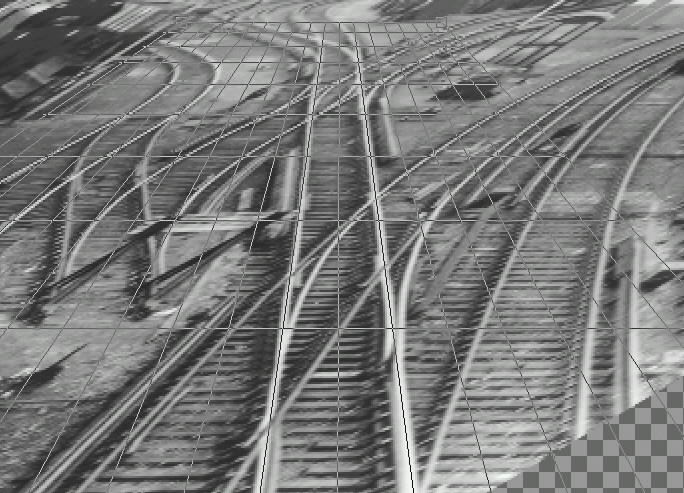
This picture has too broad a sweep for us to expect to extract a perfect track plan from it, but nevertheless it will be interesting to see what the Gimp can do with it. Placing a ruler on the original print revealed that the track linking the two slips is straight, which will be a great help to us. Make a note of the turnout in the centre (arrowed), it appears to be on an S-curve transition. The crossing is curving one way and the switch is curving the other way.
After experimenting for a while it became clear that the Gimp would not be able to correct the perspective straight off, and would need some initial help. I decided to start by shearing the image to make the straight track vertical on the screen.
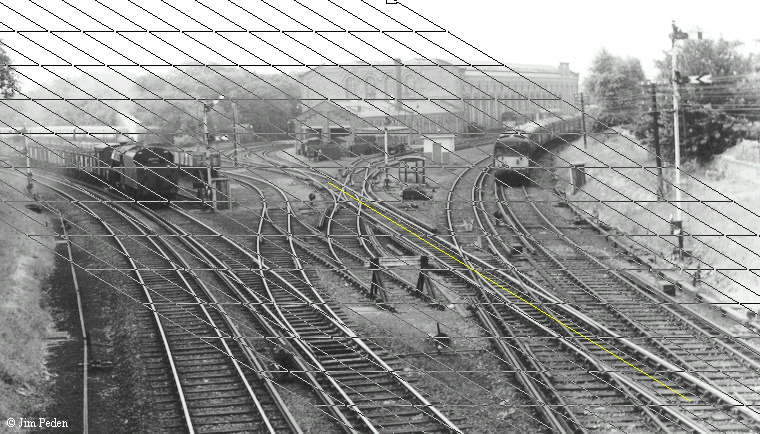
Here is the Gimp's shear grid aligned over the picture. You can see that I have aligned it as close as I can judge to the centre-line of the straight track (yellow line).
Here's the result of the Shear function (in Corrective mode):
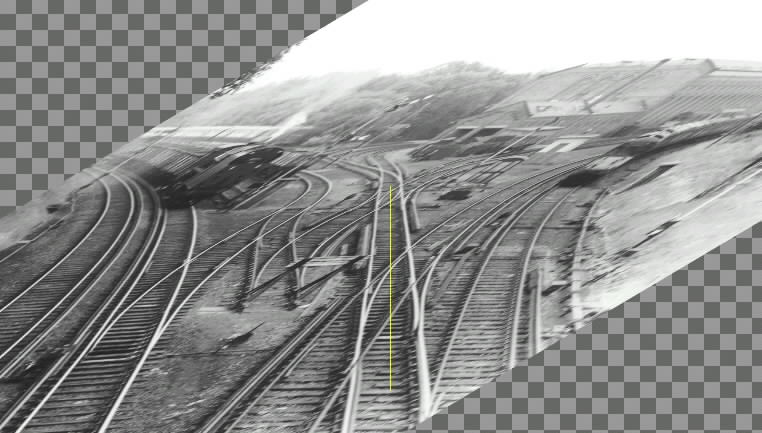
The track centre-line is now a vertical line on the screen. This took a couple of tries with the Shear tool, but it's easy to undo and try again. It is interesting to note that although vertical features (e.g. the buffer stop and the signal posts) are severely distorted, everything in a single horizontal plane (e.g. the rails) remains in reasonable (if foreshortened) perspective. This is fortunate, because we now want to use the perspective correction tool on them.
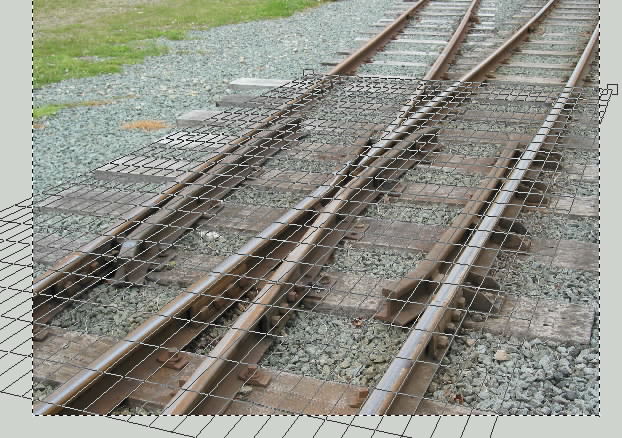
Before proceeding further I cropped off the meaningless upper and right-hand parts of the image using the Resize function.
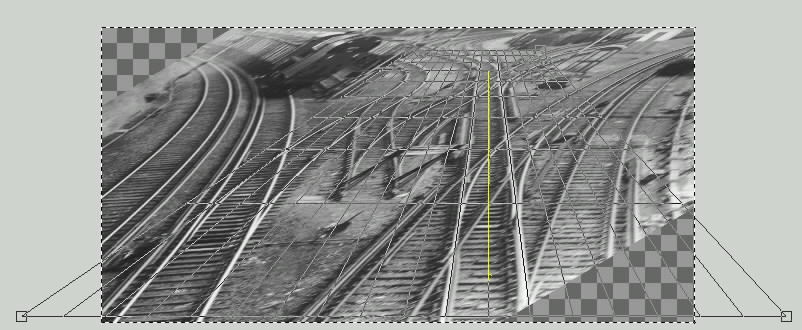
Now I've added the perspective correction grid (above). I've adjusted it by dragging the corners until two grid lines are aligned along the straight rails. Adjusting the horizontal grid had to be a best guess. Without any obvious plain sleepers in this track to use as a guide (the timbering in the single slip is equalized), I left the horizontal grid square to the track centre-line. Here's a closer view of the top part of the grid:
Here's the result of the perspective correction. The aspect ratio of height to width is completely wrong at this stage, so it is difficult to judge how successful we have been!
The first task is to rotate it to the more usual orientation, and then load it into a background picture shape in Templot:
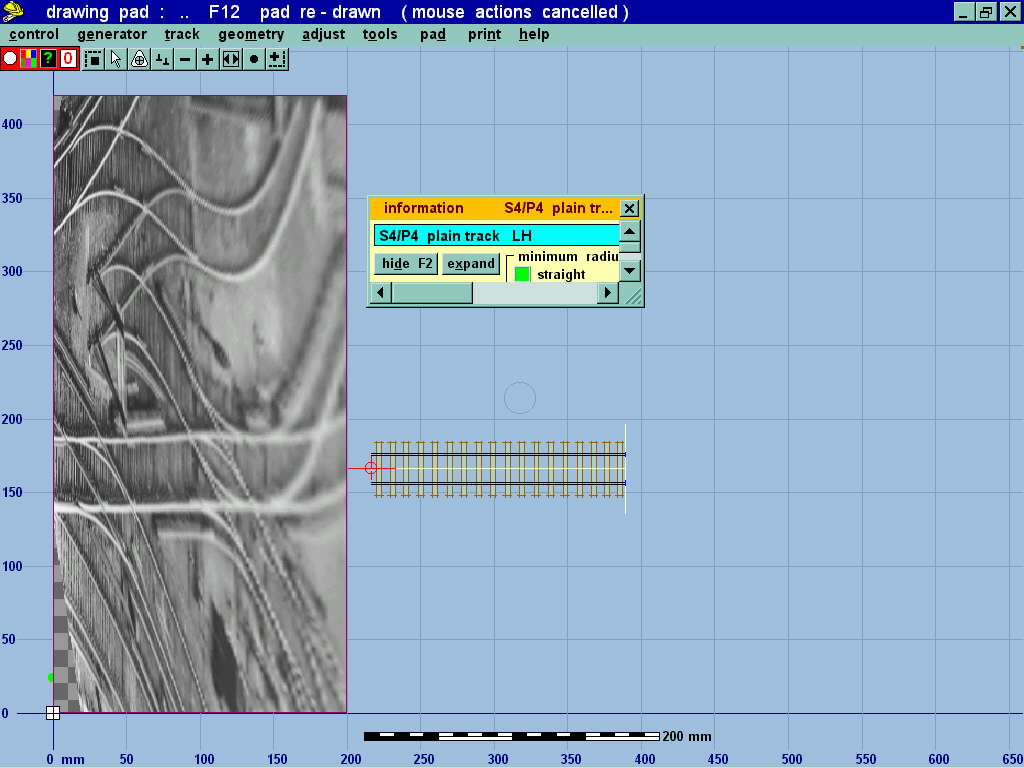
I have created a length of straight plain track (in P4) to help me resize the image to the correct scale.
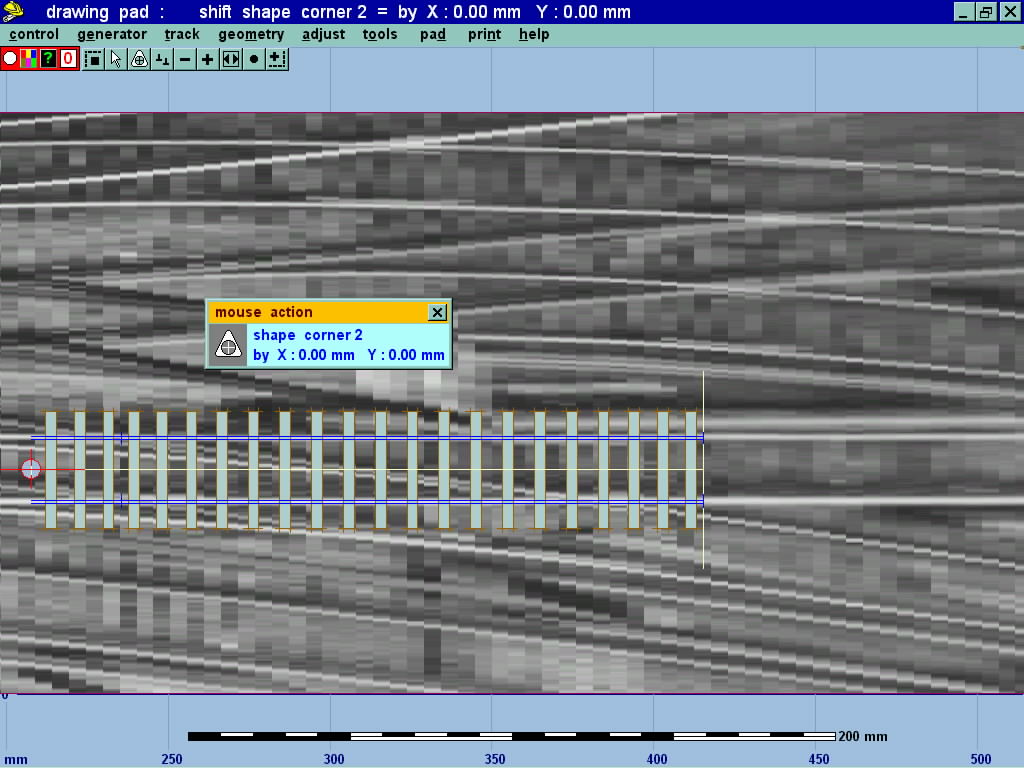
Here I'm using the shift shape corner 2 mouse action to stretch the image to the correct height and width for P4. Getting the height right is fairly straightforward by matching the image of the rails to the plain track length. Getting the width of the image correct is more difficult and in this case I guessed it. If rail joints and sleepers were visible in the image these could be used to set the correct lengths. Note that the vertical bars visible in this picture are not timbers, but the banding effect from the Gimp image corrections.
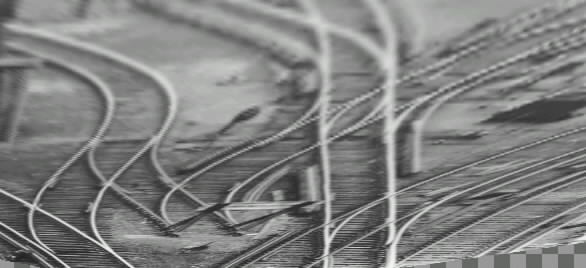
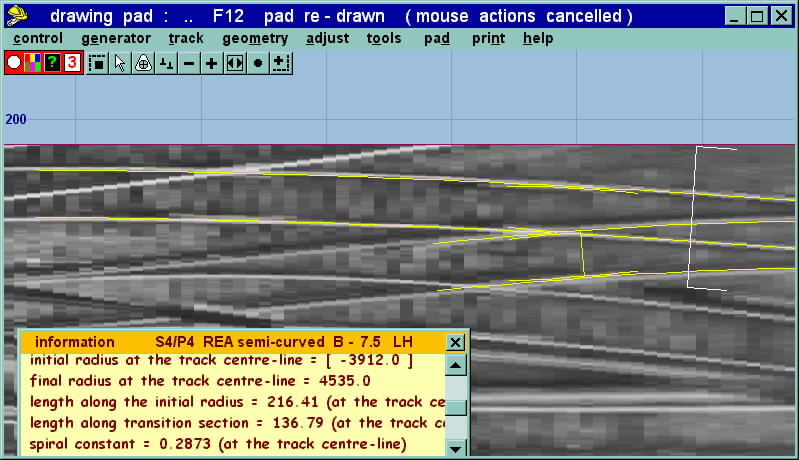
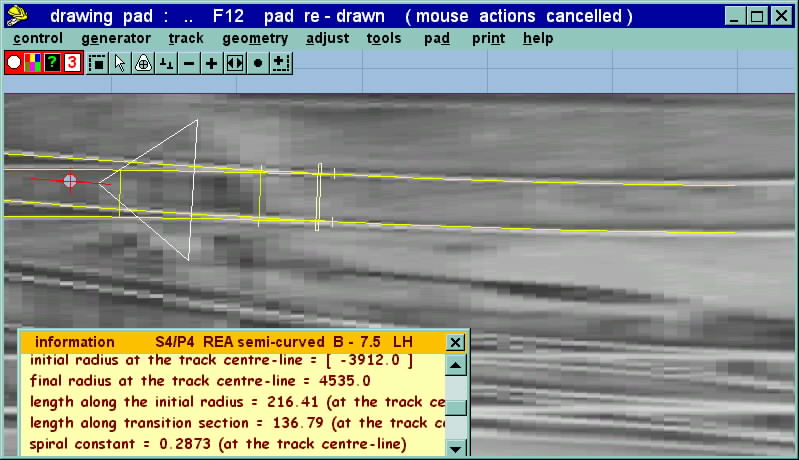
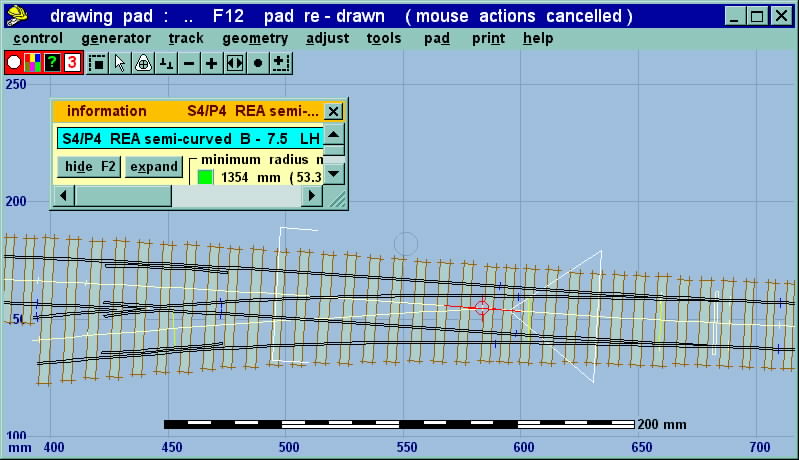
Here again is the turnout which we noted at the start. I'm aligning a template over it, and if I've judged the stretched length correctly, this is a B-7.5 turnout. As noted on the original picture, it needs an S-curve transition to get a good match:
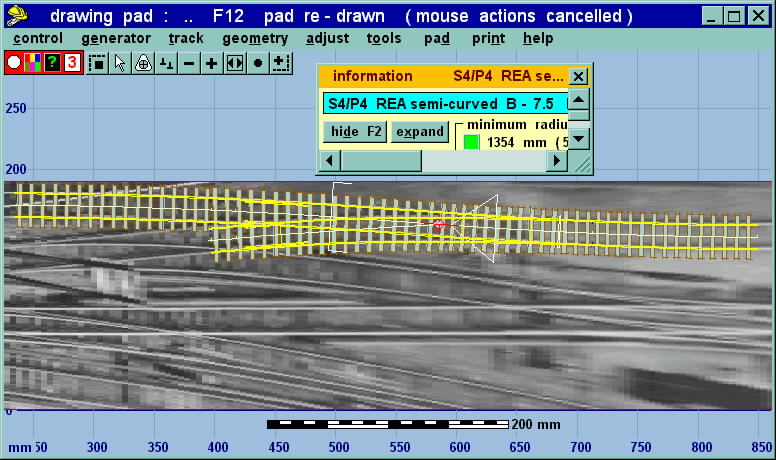
For the next 3 screenshots I changed to rail gauge-face lines only, to check the accuracy of the match to the background image. As you can see it is very good:

Here's a more conventional Templot view of the same template:
And here again is the prototype turnout this is derived from:
The accuracy which can be achieved by using this GIMP-modified photograph as a background guide has surprised me. This technique looks to be a valuable new resource of prototype information for track planning.
In the next sequence we get in closer.
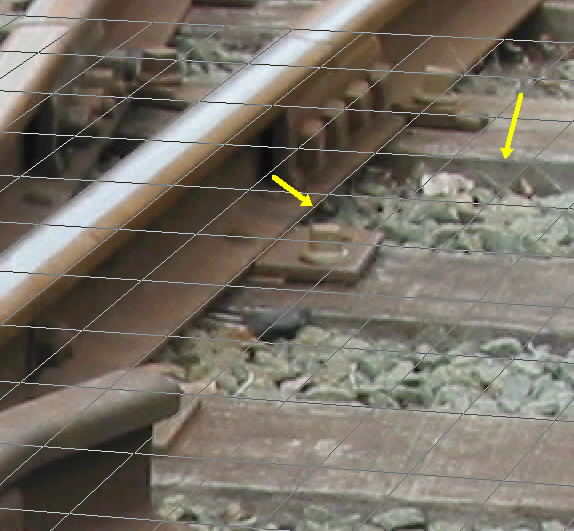
This is a 2ft-6in gauge crossing at Castle Caereinion on the Welshpool & Llanfair Light Railway:
For accurate work with the GIMP, we need rectangular dimensions which are all in the same plane. This is conveniently arranged for us here by having flat-bottom rails spiked directly to timbers which are square-on to the main road, which is straight at this point. So we can use the top surface of the timbers and underside of the rail as our reference plane.
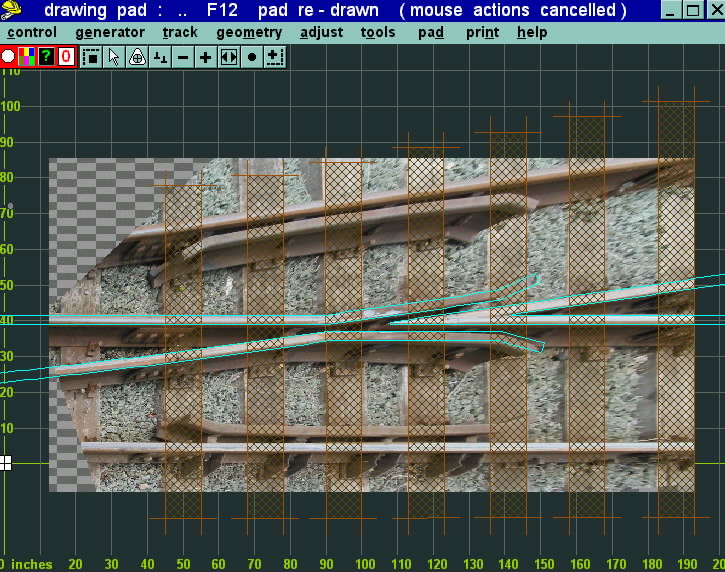
Here I've aligned the GIMP's perspective correction grid over the crossing:
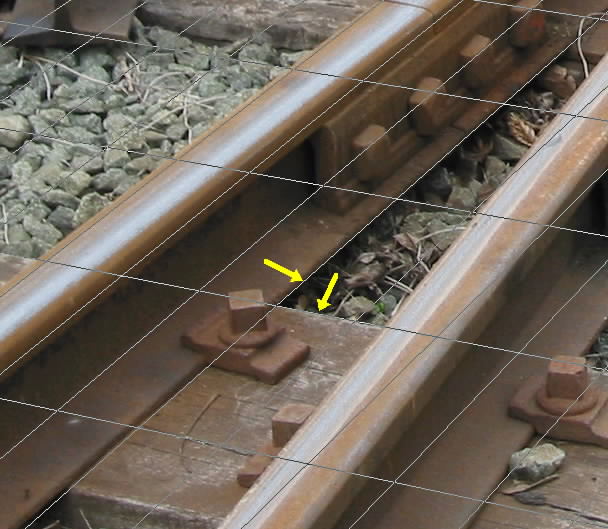
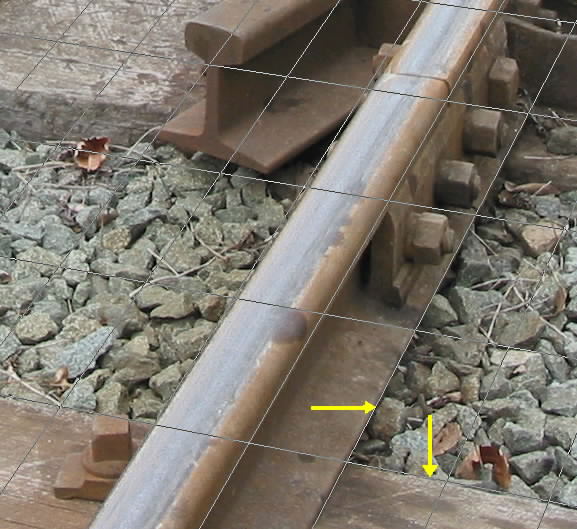
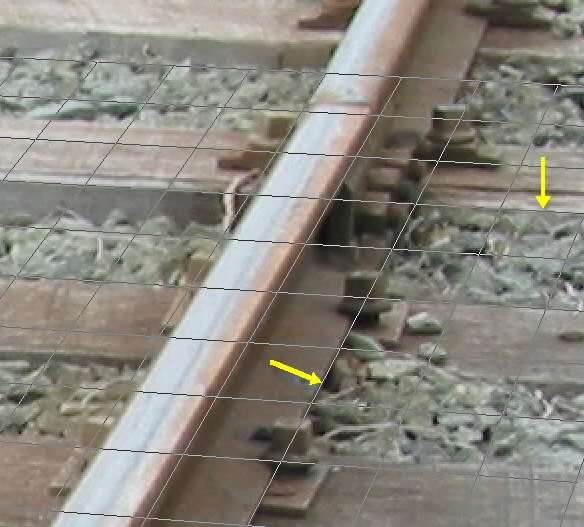
And in these 4 following close-up screenshots, you can see how the grid has been aligned to the foot of the rail and the edge of the timbers in four positions (arrowed):
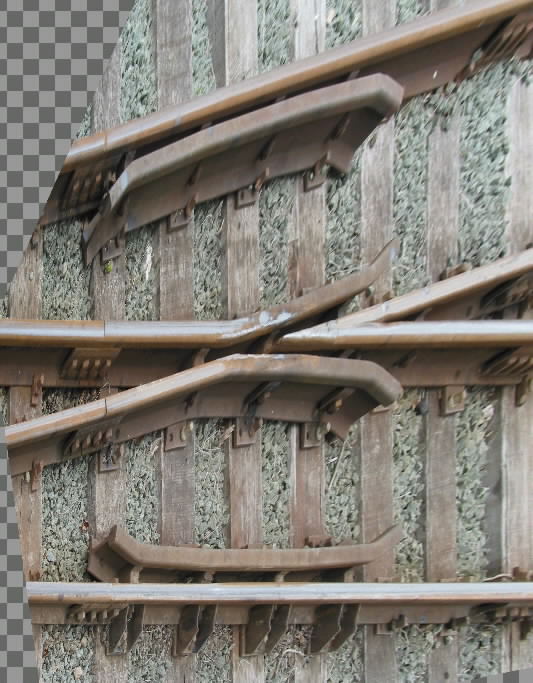
Here's the result of the perspective correction:
And the same rotated to the more usual view:
Here's the view after loading into a picture shape in Templot:
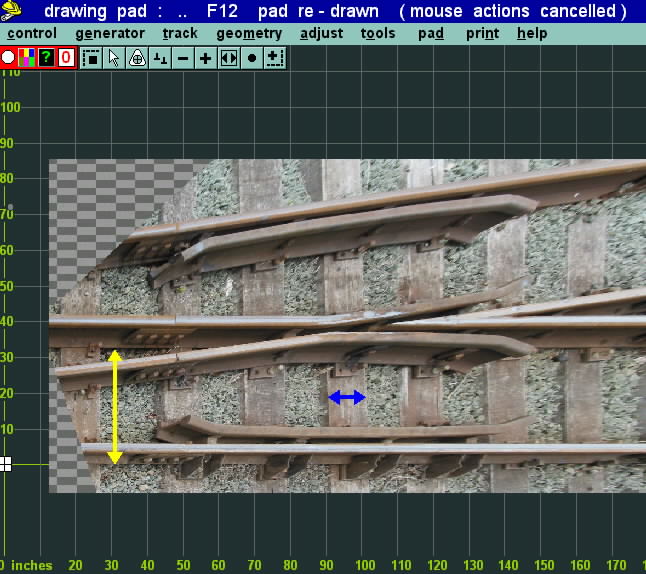
This time I've set Templot to work in full-size inches (1:1 scale). I have again used the shift shape corner 2 mouse action to stretch the image to the correct height and width. Adjusting the image height requires knowing the rail centre-to-centre dimension, which requires the width of the rail-head to be known. Assuming it is 2.5", with a gauge of 30" this gives a centre-to-centre dimension of 32.5", so I have adjusted the image to give this dimension across the edges of the rail foot which were used for the correction grid (yellow arrows).
For the width of the image, I assumed these timbers to be 10" wide (ex-standard gauge sleepers), so I stretched the image until a sharply defined timber scaled to 10" (blue arrows).
It's important to remember that only those features in the correction plane (the top surface of the timbers/underside of rail) are accurately dimensioned. The rail top is above this plane and is therefore not accurate. When Templot can draw flat-bottom rail foot lines in a later upgrade, it will be possible to align a template over this image using the rail foot lines as a guide.
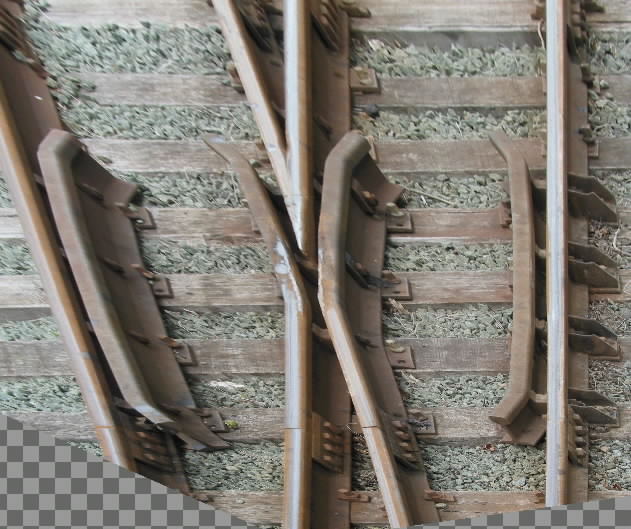
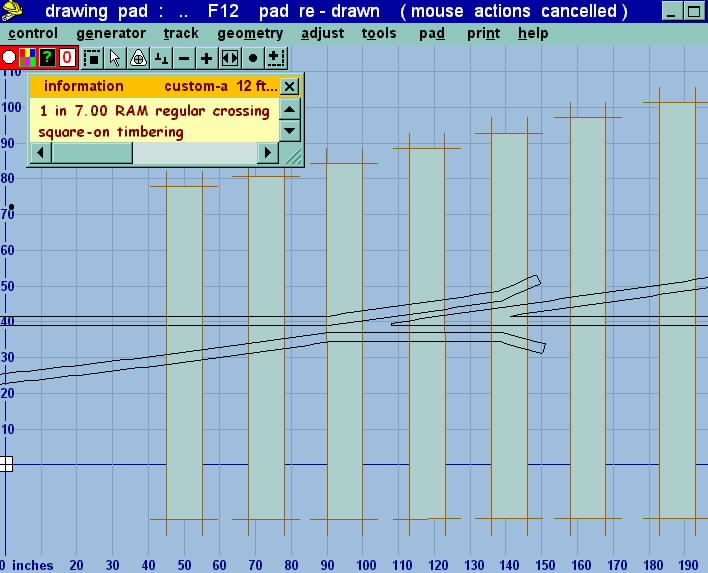
In the meantime I thought it would be interesting to try aligning a template to the rail top anyway. It turned out that a 1:7 crossing could be aligned very well:
Here it is again in a conventional view:
These experiments with the GIMP have been fascinating to do, and it's clear that we have here a valuable new track-planning tool. There's a lot to learn about how to get the best from the GIMP, so I'm looking forward to seeing GIMP-modified images uploaded to the Templot group files, and the templates derived from them. All GIMP related experiences and info eagerly awaited!
Martin.
Download the GIMP from the GIMP web site, or obtain it from computer magazine cover disks (e.g. the June 2002 issue of "PC Format" magazine).
More about using the GIMP for modelling.
More about Templot.
© 18-June-02